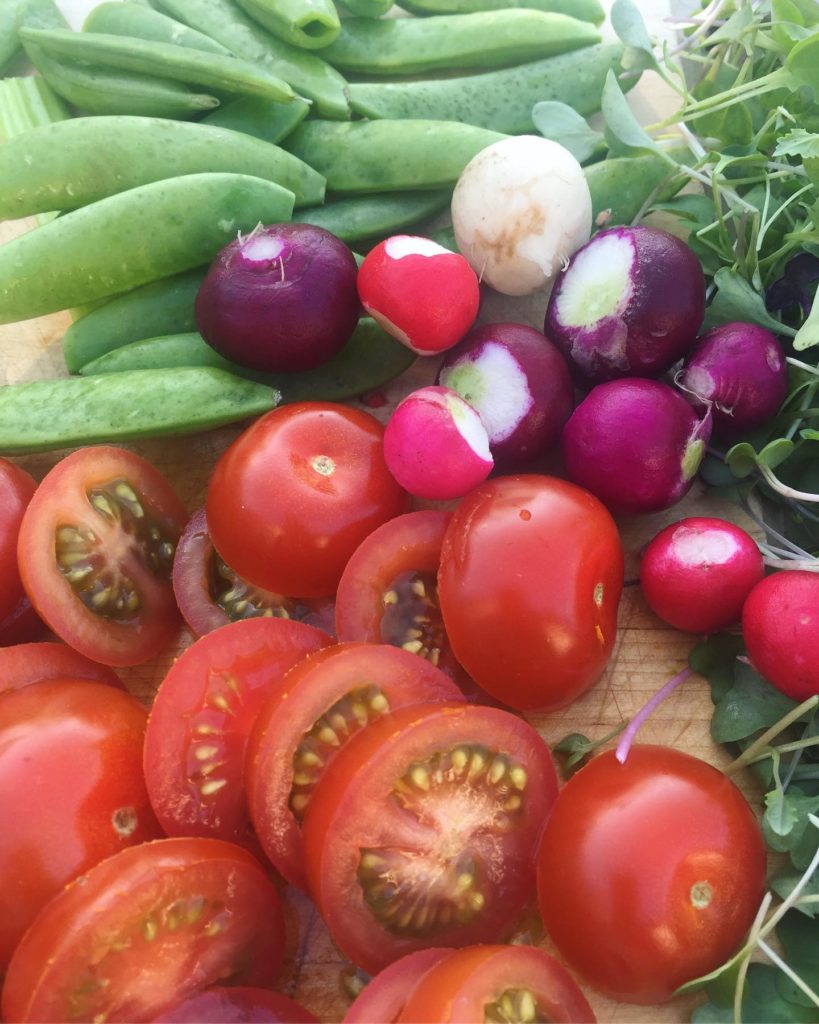
Starting a garden from scratch can be daunting, but the results are worth it! It’s so rewarding to eat fresh homegrown produce, and the difference in taste and colour is unquestionable. But where to start? I’ve broken it down into 8 easy steps.
- Choose your players – decide who to grow
- Pick your plot – decide where to grow it
- Do a little digging – research how and when to grow it
- Obtain the goods – acquire what you’ll need to grow your plants
- Plant the plants – put your plants in the ground
- Cover up – mulch around your plants
- Smile, water, and wait – exercise your patience as your seedlings mature
- Harvest, harvest, harvest – experience the reward of fresh, homegrown produce
Choose your players
The whole point of gardening is to grow things that you enjoy. When I was panicking about starting my first garden, my friend Louise of Yard to Plate ordered me to write out a list of what I want to eat. If you’re like me, the list might expand like a runaway train as you start looking at seed catalogues and visiting garden centres, but it’s nice to have an idea of what your core crops are. Try to keep this as realistic as possible – it’s unlikely you’re going to successfully grow tropical fruit like mango here in the Pacific Northwest, for example.
For inspiration, here’s The Farmer’s Almanac list of Top 10 Easy Vegetables:
- Lettuce
- Green beans
- Radishes
- Tomatoes
- Zucchini
- Peppers
- Beets
- Carrots
- Chard, spinach, or kale
- Peas
You might also want to consider what might taste better homegrown (for me, carrots, peas, and tomatoes are most worth it) and what you might not be able to get at the grocery store (certain types of mint or basil, for example).
Pick your plot
Now that you have an idea of what you want to grow, it’s time to figure out where to grow it. What you grow and how much you grow is dependent on how much space you have. Your garden should be in a spot that ideally gets at least 6 hours of sun per day. Sometimes carving out some space takes a little creativity. Here are a few options:
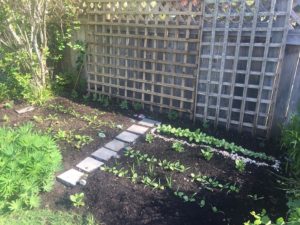
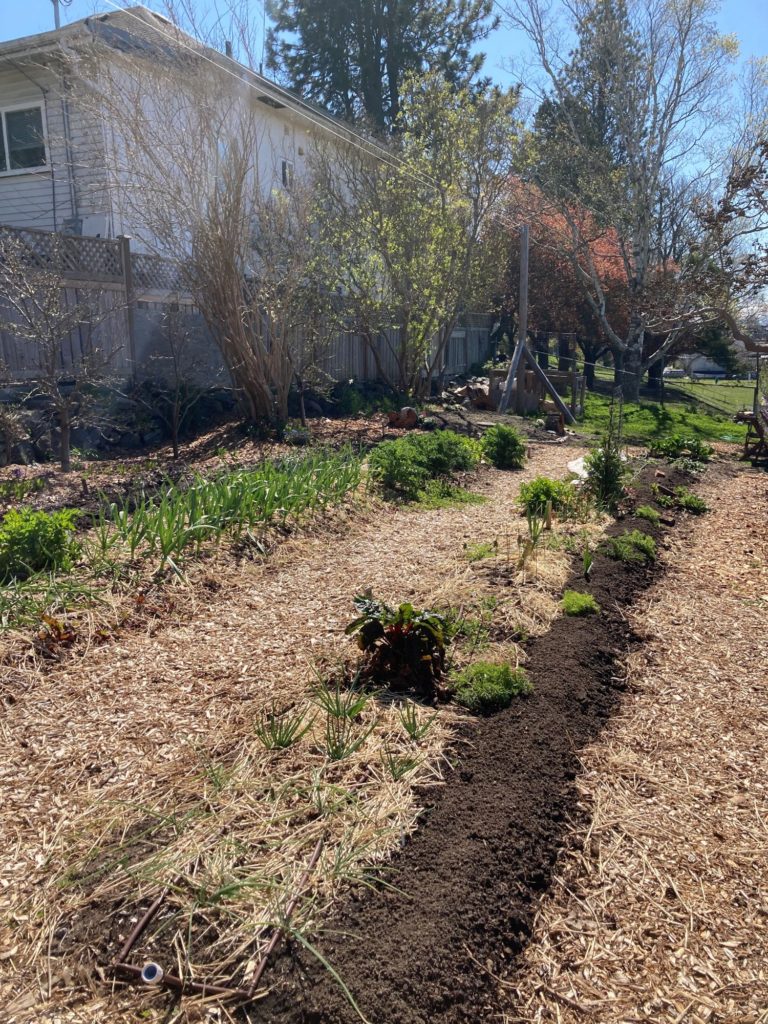
Dig up some lawn
I dug up some of the lawn of my rental house to establish my first garden bed. Because I was young and naïve, I spent days hacking away at the ground to clear some land. Do not do what I did! Spare the blood, sweat, and tears by sheet mulching instead. In essence, you want to cut the grass and other vegetation as short as possible in your chosen spot, cover it in layers of cardboard, then cover the cardboard with compost and soil. Toby Hemenway gives a great, more detailed overview here. Sheet mulching is generally a better choice than tilling as it doesn’t disturb the soil, leaving the soil ecosystem that supports your plants intact!
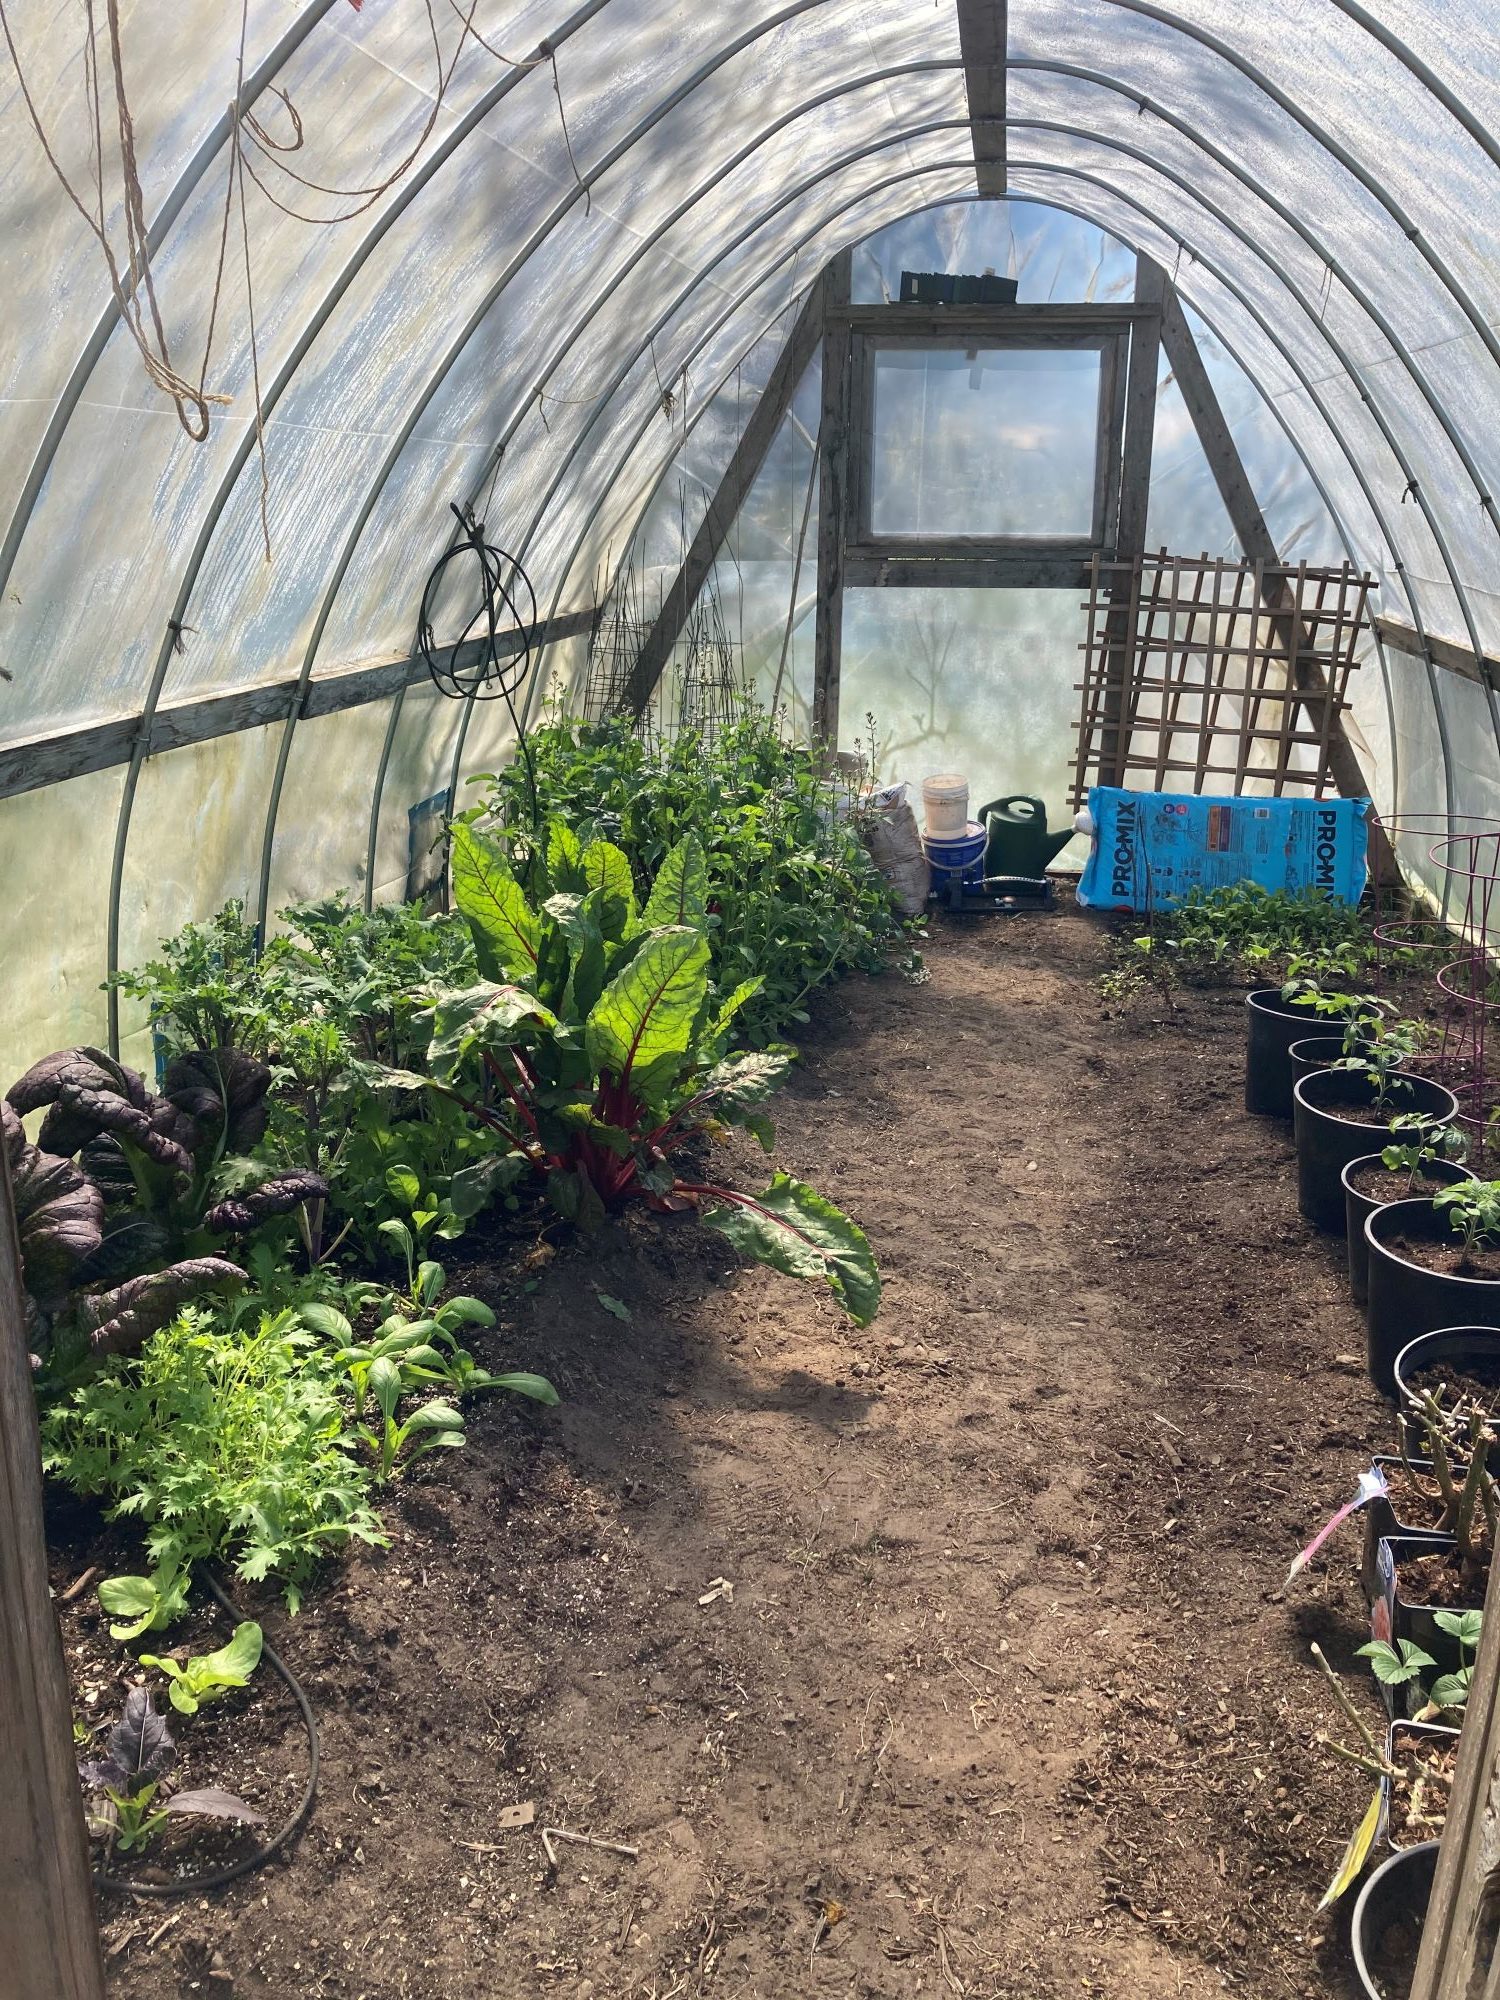
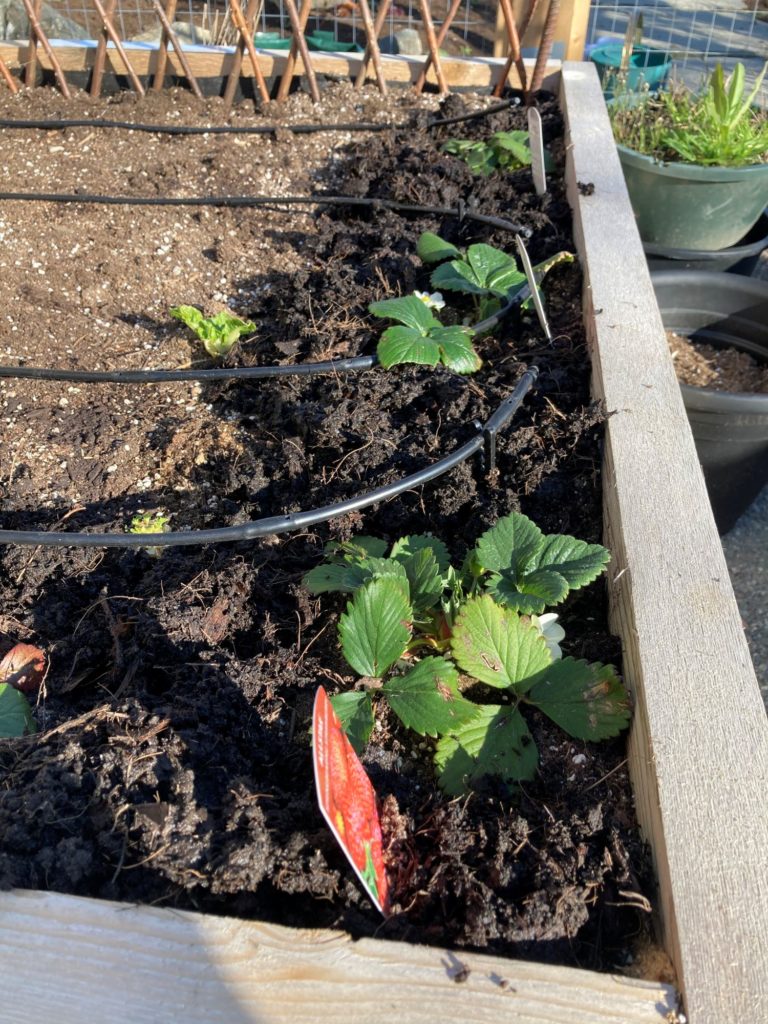
Raised beds
Raised beds are another common option for vegetable gardening. They are freestanding soil-filled boxes that (as in the name implies) are raised aboveground. No digging required! Raised beds are most commonly made from wood, but (especially with the current price of lumber) they can be made of anything that helps to contain the soil. Try upcycling an old palette, rocks, a bookcase, a feed trough, or a bathtub. Make sure the material is non-toxic and that there is some kind of drainage at the bottom so that your plants won’t be sitting in water (if they do, they can rot).
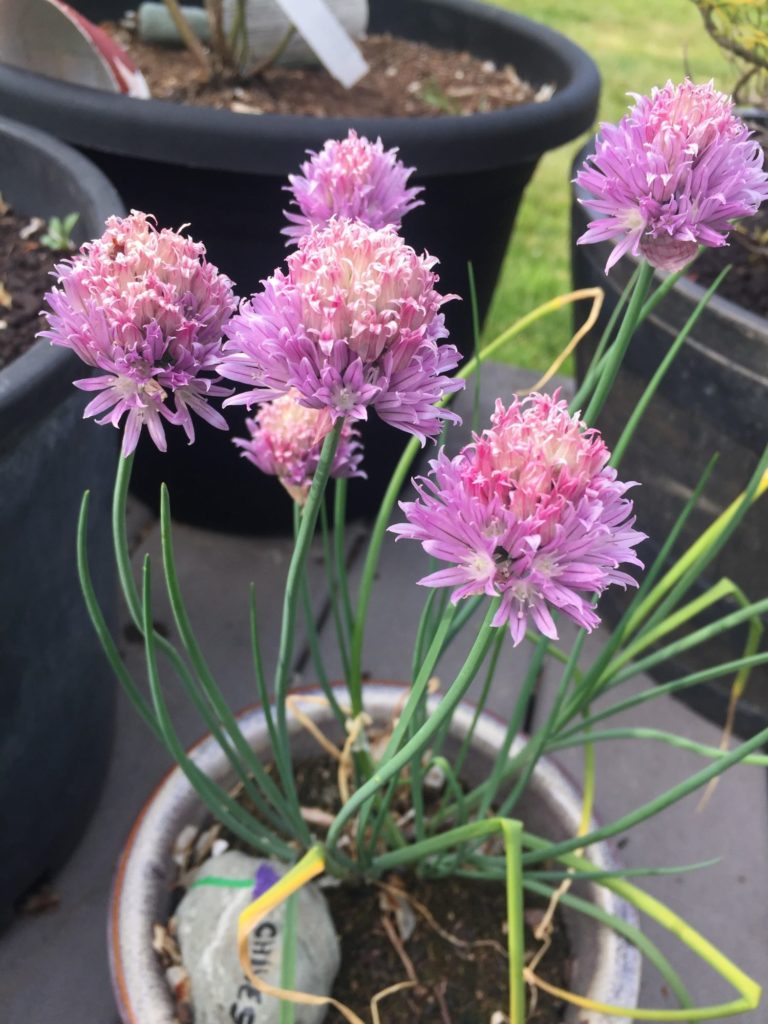
Containers
Pots are like mini, readymade raised beds – super convenient, versatile, and mobile. Another similarity is that you can get creative with the definition of a pot. An old blue recycling box? Try it out. Five-gallon bucket pilfered from your local bakery? You can grow almost anything in those! Found a kiddy pool on the side of the road? Poke some holes in the bottom and sow away.
Pick pots that work for your space. Again, make sure they have holes in the bottom so your plants don’t sit in water. The size of container you’ll need depends on the plant, but you generally want a depth of at least 25cm. Most plants will be happy with 5 gallons (~22 L) of growing space. Never fear, though – if window boxes or old milk jugs are the only containers you have, you’ll still be able to exercise your green thumb.
Last year, I had two in-ground gardens and a sea of pots that took over my deck. This year, pretty much all of my plants are in raised beds, but recently I picked up some SmartPot grow bags from super cool urban farm TOPSOIL. Because they’re made of fabric, they’re light and easy to store. All of TOPSOIL’s crops are grown in these bad boys!
Plant upwards (vertical garden)
If you don’t have a lot of surface area to work with, try growing upwards. There are tons of DIY vertical garden designs out there to inspire you. Try rigging up some cascading hanging baskets, repurposing your old closet shoe organizer, or setting your pots on rungs of a ladder.

Do a little digging
Now that you’ve settled the what and the where, it’s time to address the how by doing some research. Do a little digging to figure out what requirements your crops have – most importantly, when to plant them and how much space they need. Make sure that your plant list is realistic and that your plot can accommodate the needs of each crop. Take a look at how hardy they are and compare to your region’s plant hardiness zone. Also consider what kind of harvest you can expect from each plant and decide how many plants you’ll need. There are a ton of great resources out there. My go-to webpages include:
West Coast Seeds’ regional planting charts
A guide for when to plant veggies, herbs, and flowers. Has charts for different parts of Canada and the USA (I use the Coastal BC chart).
West Coast Seeds’ How To Grow blog posts
Articles for how to grow pretty much anything. Search “how to grow ____” in the search bar and switch the results filter at the top of the results page from “Products” to “Resources” to find the blog post. The articles take you through when to plant and harvest, how to sow and grow, and potential diseases and pests to watch out for.
Linda Gilkeson’s email list and gardening tips
Dr. Linda Gilkeson is a master gardener who has a PhD in Entymology. She’s based on Saltspring Island, so her information is great for those of us living in coastal BC. Join her email list to receive monthly gardening advice. Even my mentors who have been gardening for decades subscribe to her! She unsurprisingly is a great resource for natural pest and disease control. Her book, Backyard Bounty: The Complete Guide to Year-Round Organic Gardening in the Pacific Northwest is another one of my go-to resources.
As you amass your information, it can be nice to sketch out what your garden will look like. Create a to-scale drawing of your planting area and place your plants within it. This will allow you to visualize how much you can fit in the garden and give you a guide to reference during planting and in future years.
Obtain the goods
It’s time to amass the materials you’ll need to make your garden dream a reality. While you don’t need much, here are a few key items you’ll probably want:
- Containers (if using) – get creative or head to your local garden centre
- Soil – find soil at your local garden centre or some box stores like Canadian Tire.
- Trowel – a handy tool for planting, harvesting, and digging around that only costs ~$10
- Garden gloves – soil can really dry out my hands, so if I’m doing a lot of digging or handling prickly plants I like to don some gloves
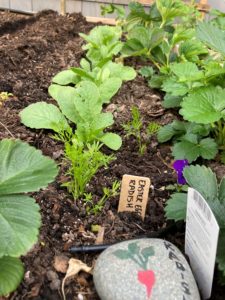
- Garden journal – keep track of what you planted, where you planted it, and how it’s growing!
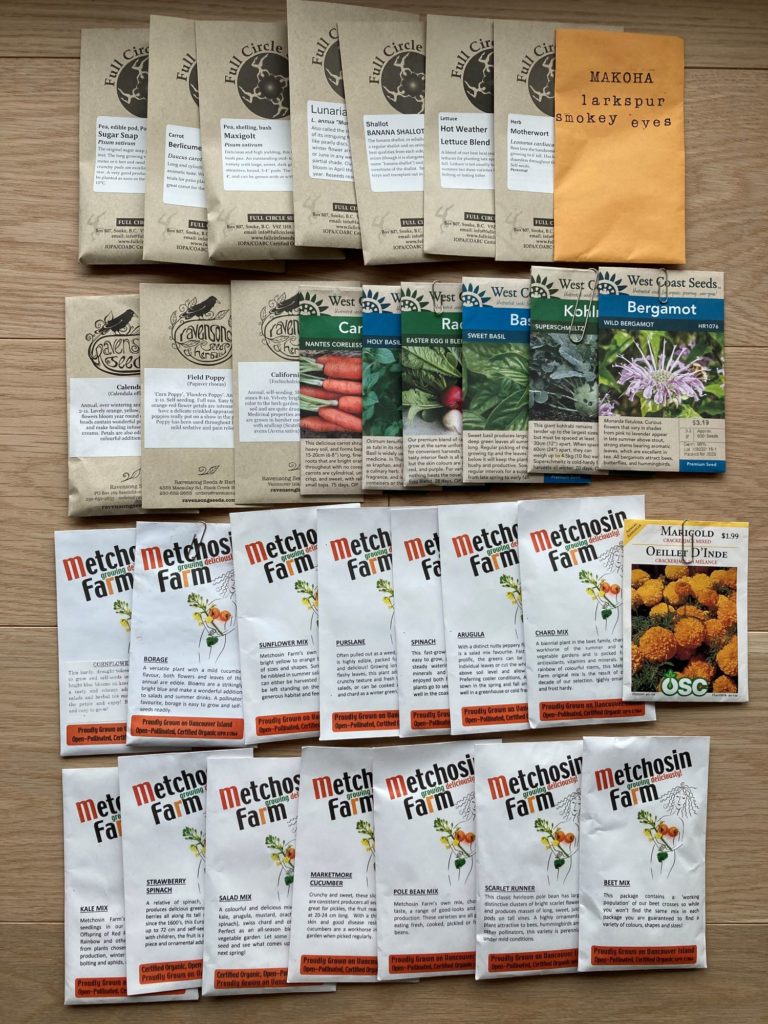
You’re also going to need the actual plants. You have a choice of either sowing seeds or purchasing seedlings. If you’re on a tight budget and aren’t in a rush, choose seeds. I like to purchase seeds from local seed companies because the plants tend to be better adapted to local conditions, I am more confident in the quality of the seeds, and I enjoy supporting local, small businesses. Here are a few local seed companies to check out:
- Salt Spring Seeds
- Full Circle Seeds
- Metchosin Farm
- Saanich Organics
- Brother Nature Organic Seeds
- Good Earth Farms
- Ravensong Seeds & Herbals – culinary and medicinal herb seeds
- Saanich Native Plants – native plant seeds
- Victoria Seed Library – run out of the Greater Victoria Public Library, the seed library allows you to access FREE seeds and seed-related education
- Little seed libraries – lots of little seed libraries have been popping up around the city. Like a Little Free Library, you can take some seeds and give some seeds.
Opt for starts if time is an issue, if you can’t direct sow a plant but don’t want to start it inside, or if you’d just like a gentler way to get things started. Many grocery stores and box stores with garden centres have plant starts, but if you’d like to support local businesses and purchase starts that tend to be of higher quality, here are some local vendors:
- Compost Education Centre – Hosts period plant sales featuring myriad local growers!
- Metchosin Farm
- Mason Street City Farm
- Sea Bluff Farm
- Michell’s Farm
- Fireweed Farm – medicinal and culinary herbs
- Saanich Native Plants – native plants
- Fruit Trees and More – fruit trees and other edible perennials
- Other businesses that receive Vancouver Island-grown starts but aren’t as hyper-local include:
Cover up
After your seedlings come up, cover the bare soil around them! This is called mulching. You can use a number of materials including straw (avoid hay!), grass clippings, partially composted leaves (i.e., leaf mulch), coconut coir, or newspaper. Mulch modulates soil temperature, reduces water runoff, conserves soil moisture, prevents weeds, reduces soil erosion, and improves soil structure by providing organic matter and nutrients. Even when growing in containers I’ve noticed a huge difference in soil quality between mulched and unmulched pots.
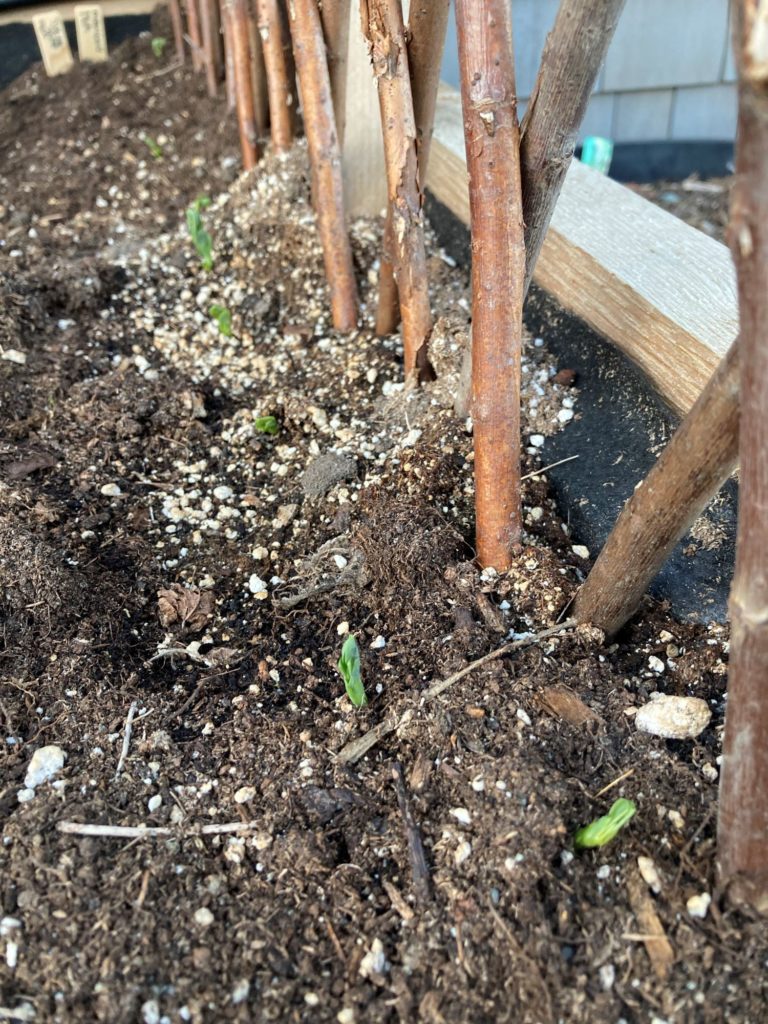
Smile, water, and wait
Once you’ve sown your seeds or transplanted your seedlings, it’s time to let them do their thing. Watch them grow and pay attention to how they look. Wilted or droopy? Test to see if they need water by sticking your finger into the soil. If it’s moist, your garden is probably fine. If the soil is hard and dry and won’t hold together well, water deeply. Ideally, water early in the morning and water the base of the plant only to avoid fungal growth on the leaves. You can water in the evenings too if needed, though slugs and snails like the moisture and can see it as encouragement to come tuck in to your plants.
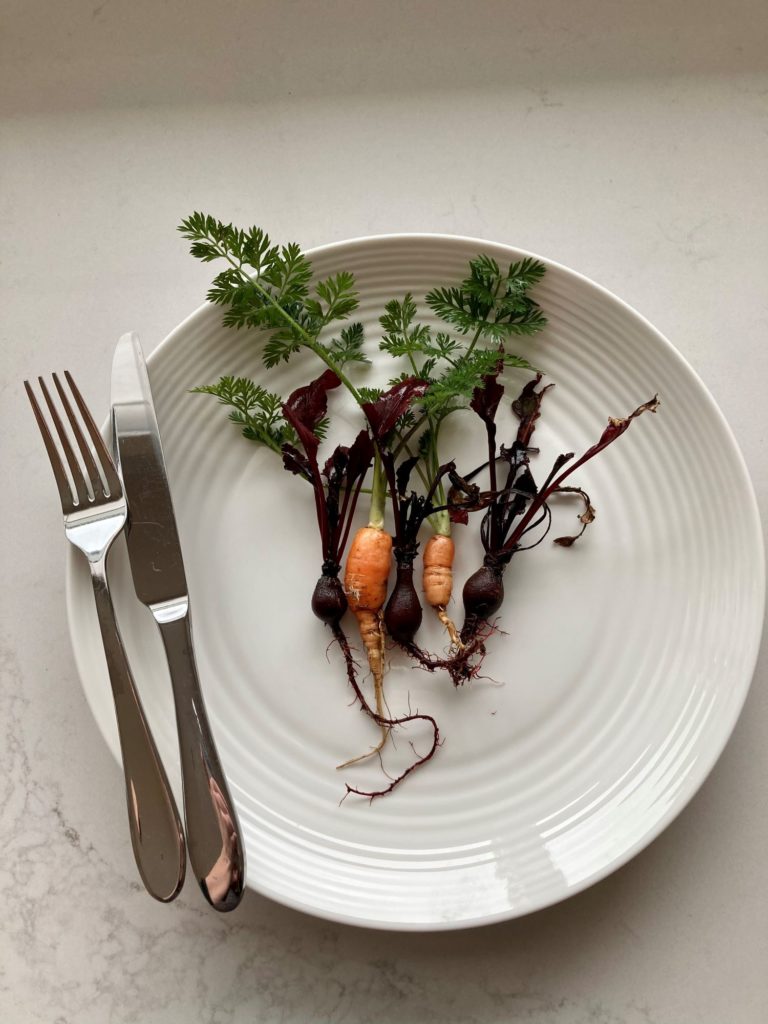
Harvest, harvest, harvest
Finally, enjoy the fruits (or vegetables, rather) of your labour! There’s nothing like poking around in the garden to decide what veggies you’re having for dinner that night. Little is more rewarding than eating homegrown produce.